


Attaching Railing Posts to The Deck Framing
Now that the deck is framed the next step is start thinking about attaching railing posts.
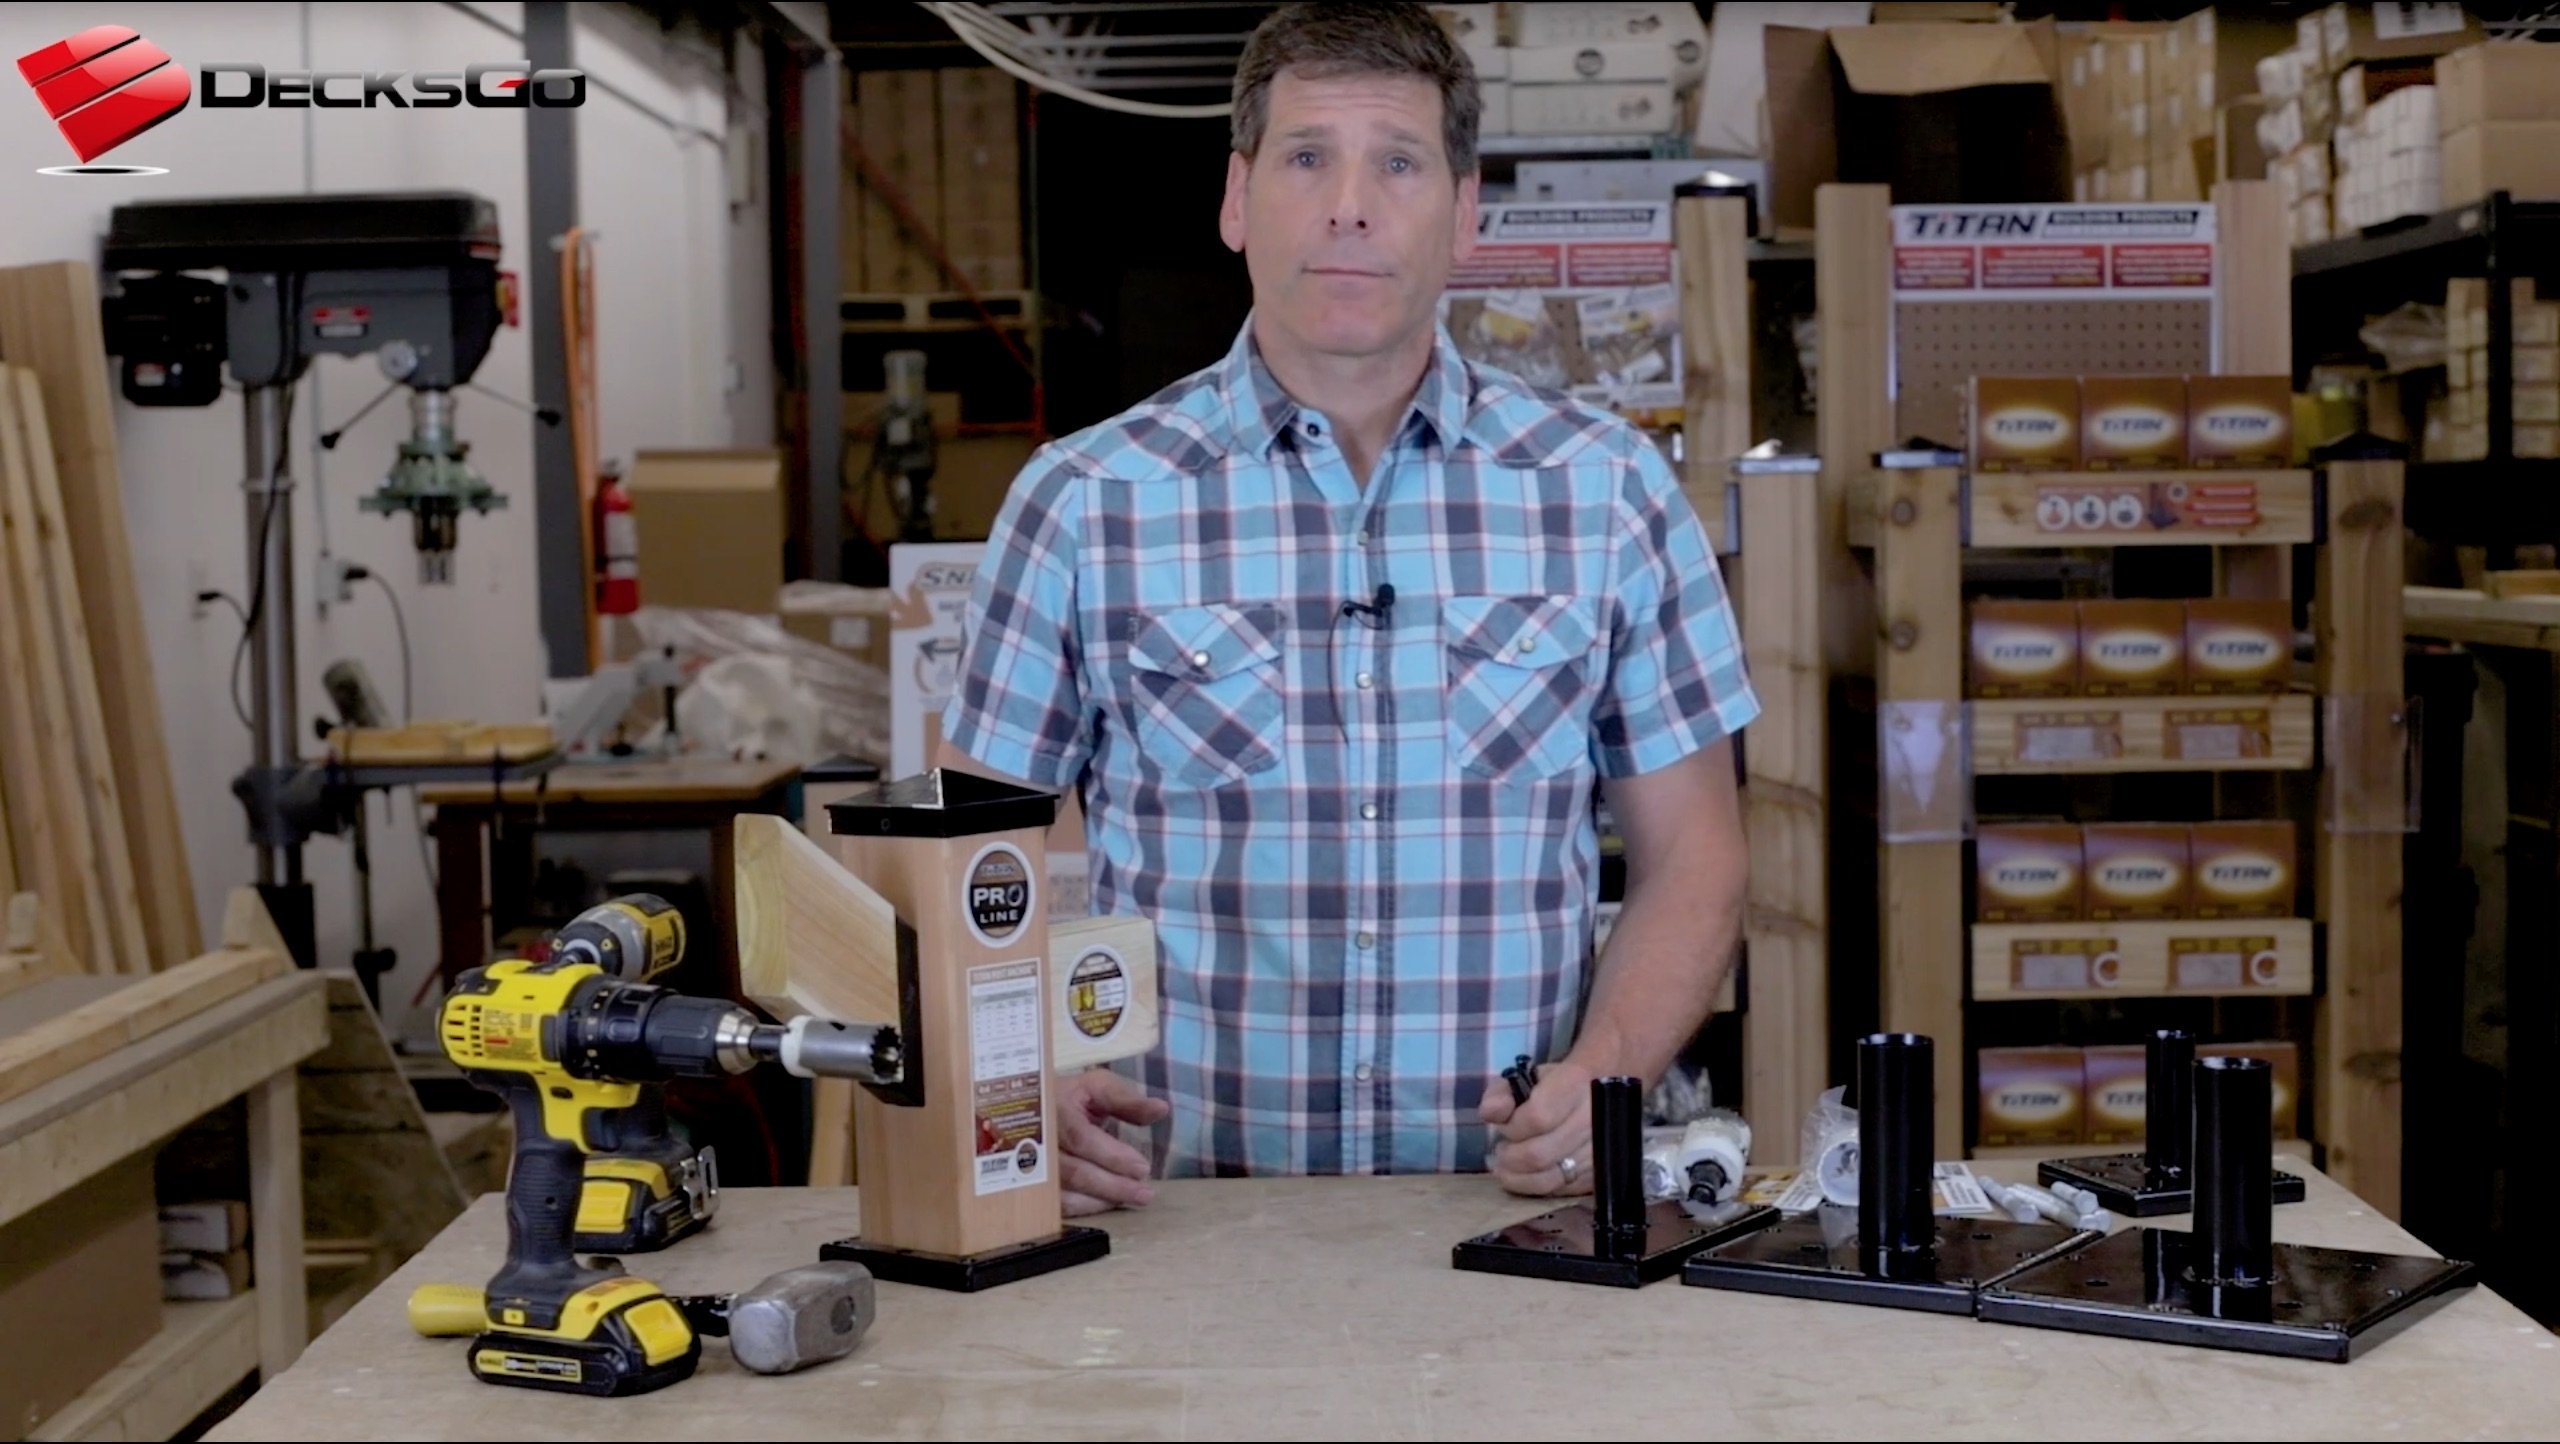
Some railings are surface mounted and require additional blocking between joists to provide more strength for the post attachment.

On this deck, we used an interior notched wood post attachment. It is more labor intensive and requires more carpentry skill than a surface mounted system but is less expensive and price was the key factor for this client.
The downside is that the posts will be susceptible to rot over time because of the wood to wood contact.
Is This The Easiest Post Attachment Method?
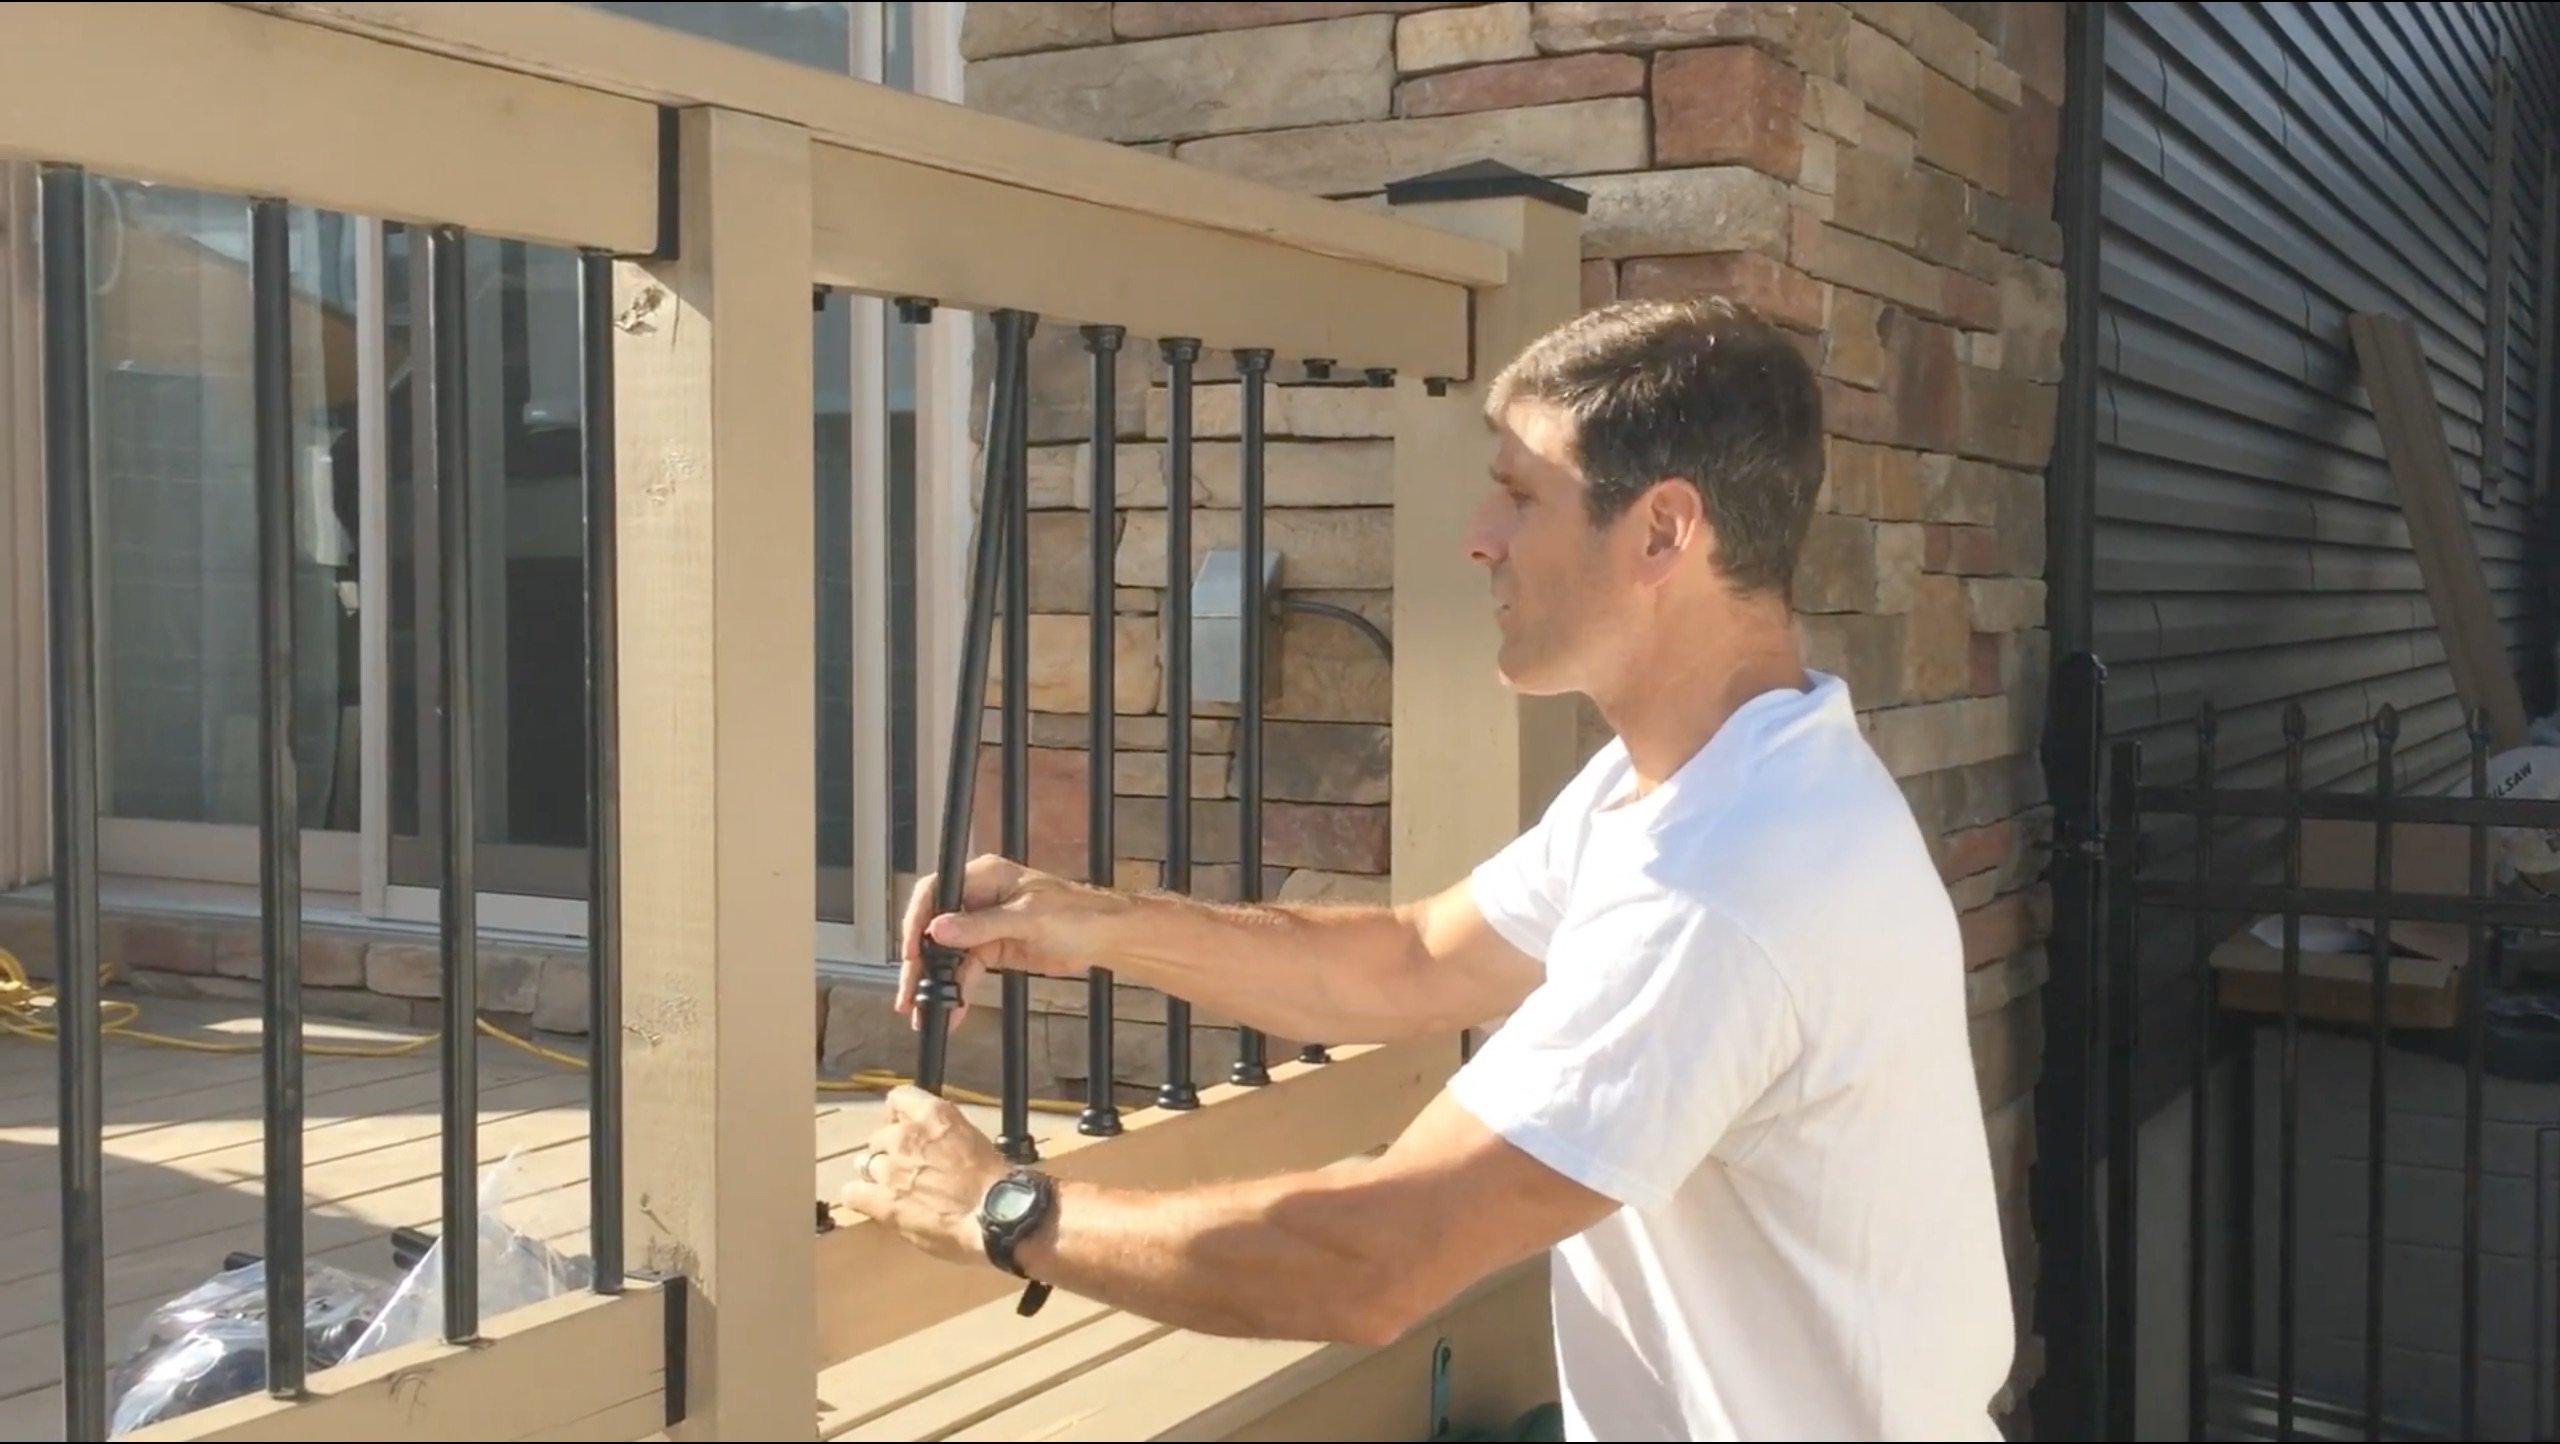
This method of attaching railing posts to the deck joists is not quite a simple as just bolting posts and 2x2 pickets or balusters to the outside of the deck's rim joist.
But it isn't that difficult either. It will give your deck a better looking railing.
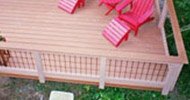
This arrangement should last longer because the railing section themselves are elevated from the deck boards and will dry off quicker after rain fall.

First Step
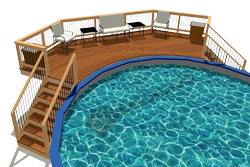
Determine the post spacing. In our small deck we only needed posts at the outer corners. Six railing posts were required on the deck surface. No posts were needed against the siding of the house because we planned to attach the railing section using a decorative 2x4 that capped the end of the railing section.
But we also required two railing posts at the bottom of the deck stairs. So we had 8 railing posts in total to attach to the framing.
Second Step
Determine the total length of the railing posts. The length includes 7.5” for the notch inside the joist, 1.25” for the deck boards, 1.5” for the bottom rail, 34.25” for the baluster, 1.5” for the top rail and 2” extra for a decorative cap to sit on. The total worked out to exactly 48”. Very convenient. Cut six posts at 48”.
Third Step

Four of the posts were for 90 degree corners and required notching at 7.5” deep on two sides so that the bottom of the post could slip in snuggly against the corner joists. Use cedar shims to get the post perfectly straight using a level and screw them into place with 3” wood screws.
Fourth Step - Attaching Railing Posts
 |
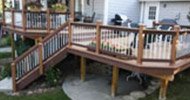
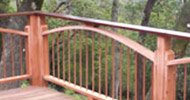
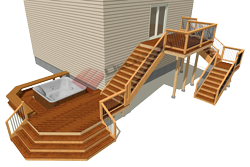
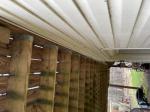
Installing the posts for the 22.5 degree corners is a bit more challenging. We decided to set each post so that it bisected the 22.5 degree angle. Notice the slight offset angle of each railing post in this picture. This had a couple of benefits. First it meant that the angles for the bottom and top rails of the railing sections would be identical from both sides of the post. Secondly, it would look balanced to the eye. |
One of the corners had three joists meeting. The other had only two joists meeting.
To determine the cuts to be made for the notches, we placed the post on top of the joists in its final position and traced out the intersection points of the various joists to layout the cuts. The angle was 11.25 degrees, half of 22.5 degrees.


The other corner had two joists meeting at a 22.5 degree angle.
Again, we set the post on top of the joists at the 11.25 degree angle to equally bisect the corner and then traced out the intersection points of the converging joists.
The notches were cut and the post was set into position, leveled with shims and screwed into place.
Fifth Step
 |
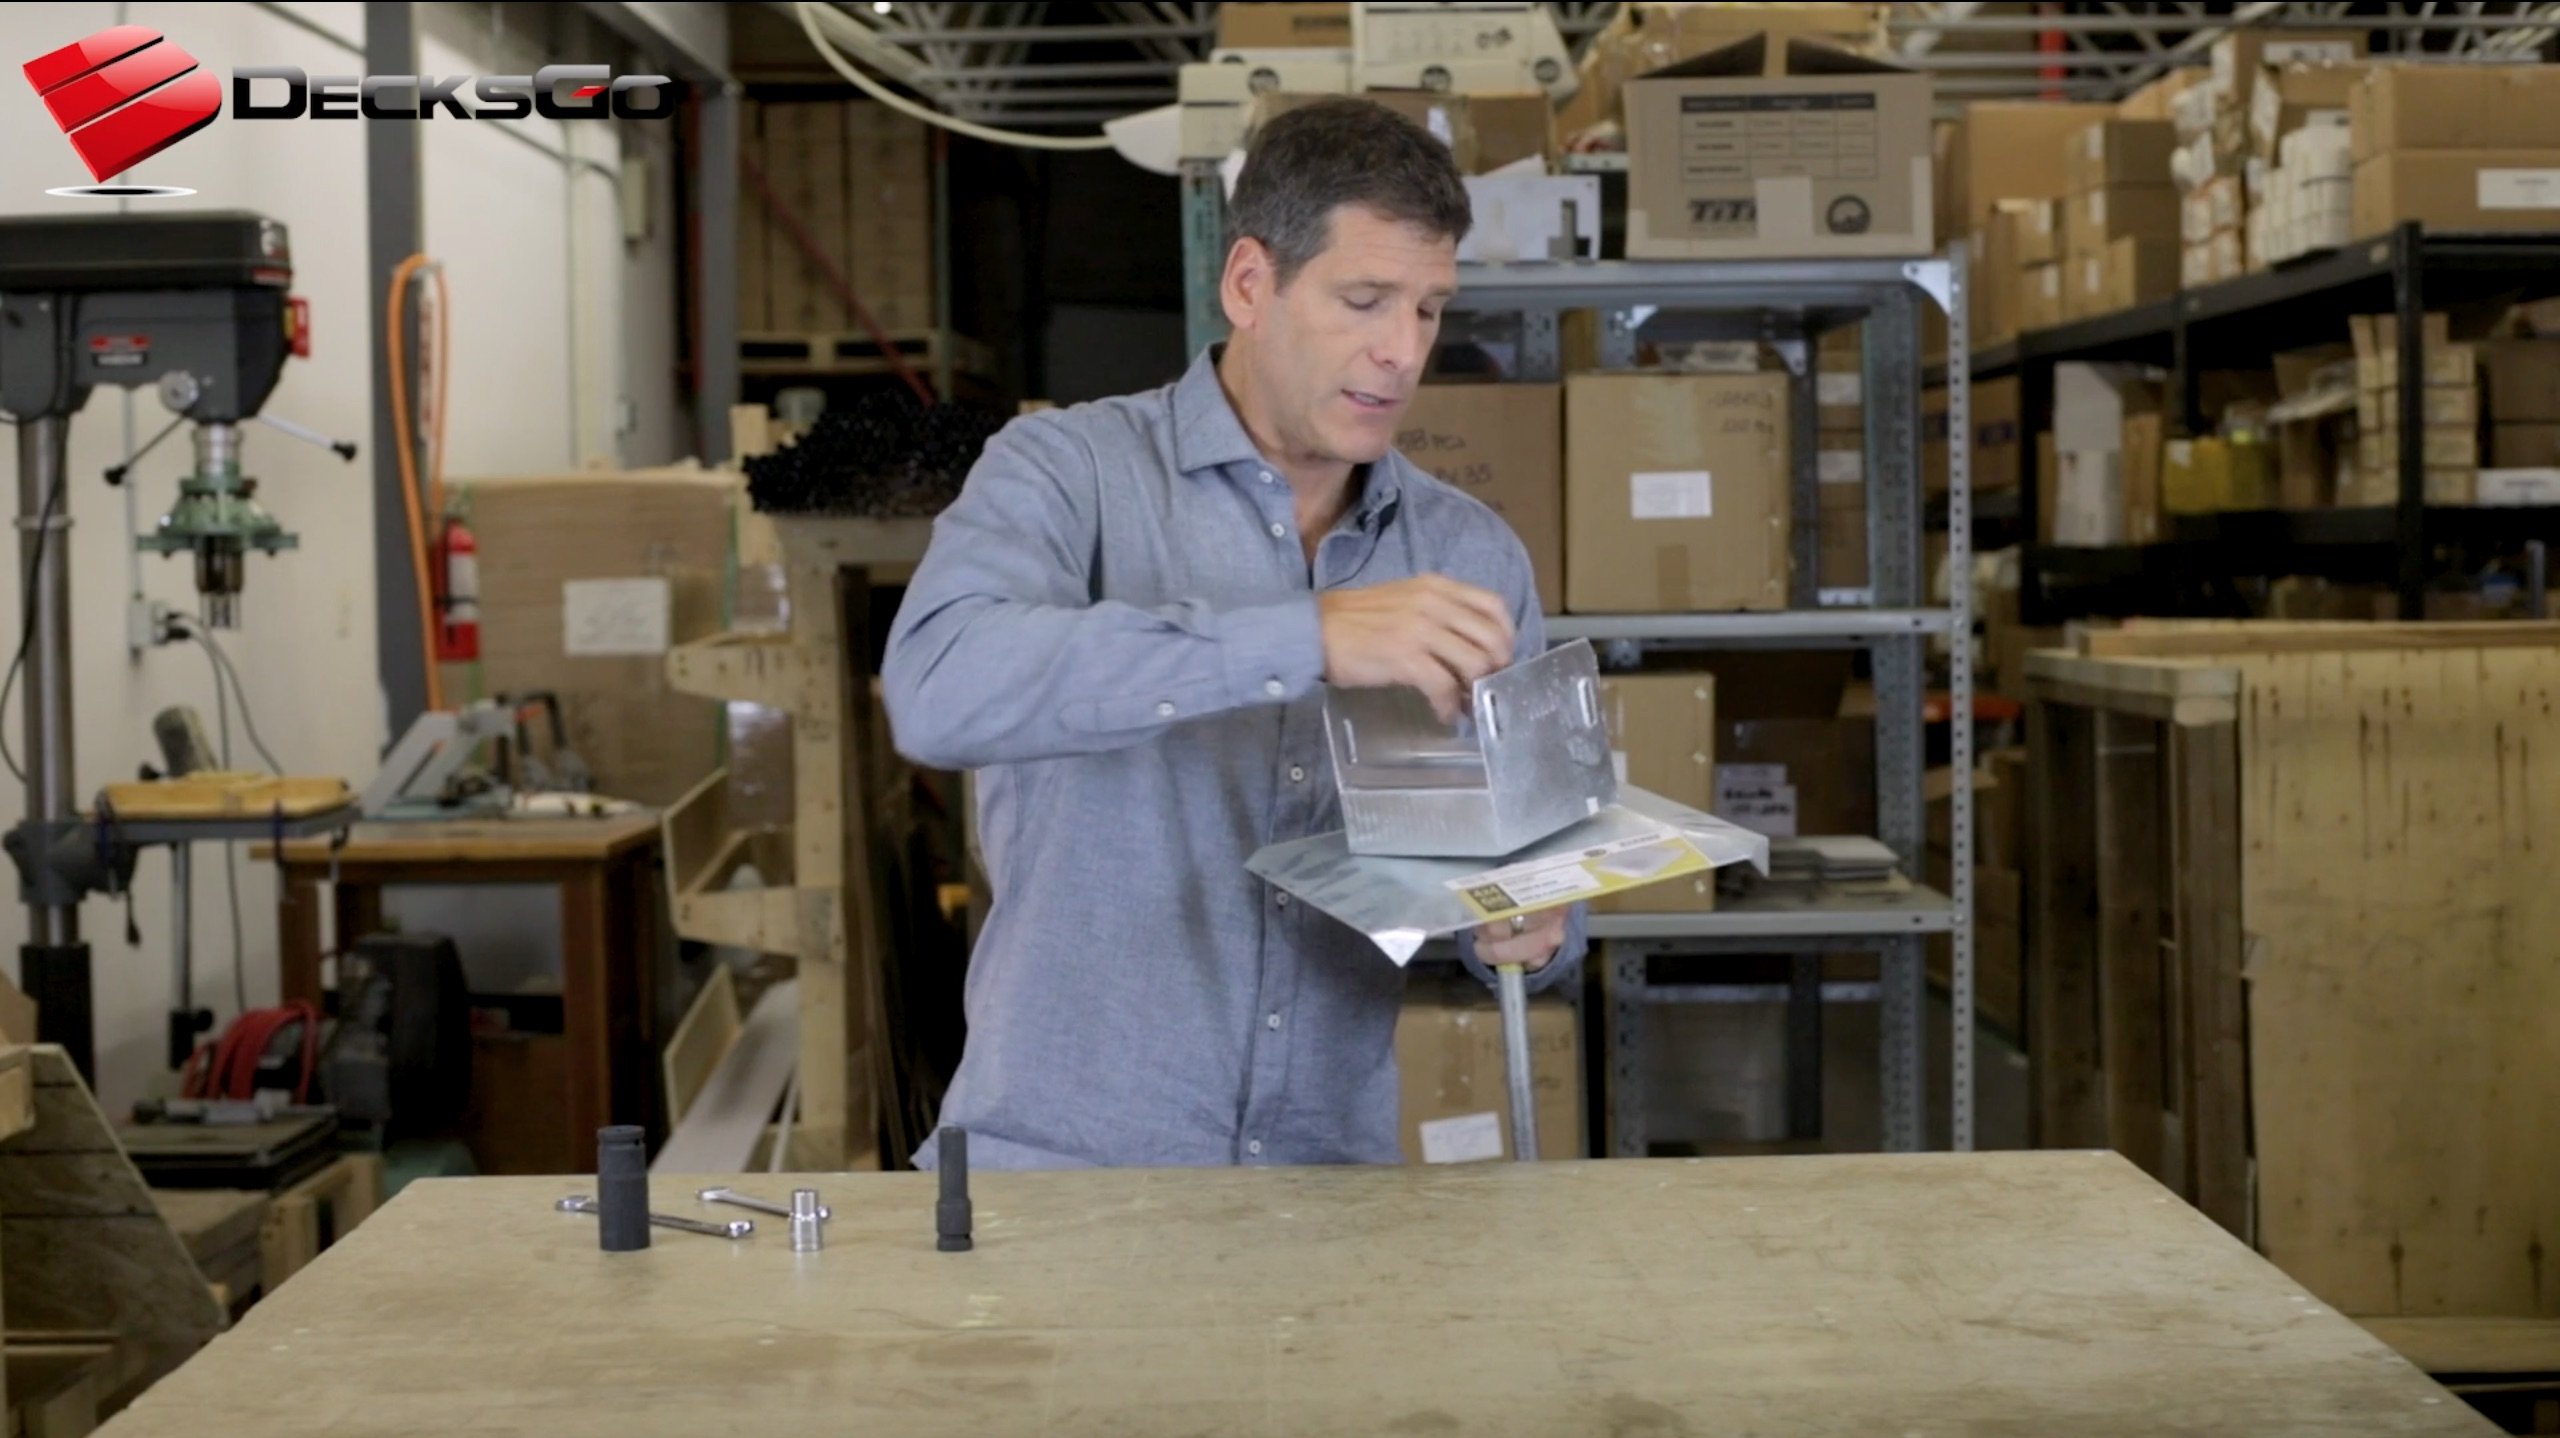
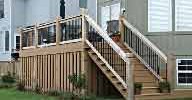
The stair railing posts were attached to the stringer and were notched. The angle of the notch was determined by setting the post against the stringer at a vertical level and tracing the angle of the stringer against the post. Cut out the notch by the width of the stringer – in this case 1.5”. Finish the notch using a chisel. |
To minimize the chance of rot, attach the railing post to the stringer using lag bolts and spacer washers to allow air flow.
Attaching railing posts with this technique actually ensures little or no wood to wood contact and looks sharp. The railing post has an air space between itself and the stringer so that if it does get wet, it can dry out quickly.


Keep this concept in mind when attaching railing posts, especially wood to wood connections in areas of high moisture and humidity.
Now that the railing posts are all securely attached, it’s time to install the fascia board around the perimeter of the deck.
Home > Building A Deck > Attaching Railing Posts


Recent Articles
-
10x8 6 person spa deck
Jul 26, 22 12:17 PM
I think I might be over-engineering this but I live in CT and I'm also worried about snow weight. Adding a 8x10 deck attached to existing deck, 2x10's -
Hot tub weight
Jul 26, 22 12:16 PM
 I won an inflatable 6 person inter hot tub. I have a large deck. 12x 20 on both sides of the house. With a header to the house and the deck was built 6
 -
Deck around a swim spa
Jul 26, 22 12:15 PM
I'm putting a swim spa into an inground concrete bunker and will build a deck around it. I have been advised to keep the deck joists a minimum of 6 inches


It's time to start
making your memories.

How-To
Go Learn More
© 2004-2022 Decksgo.com. All Rights Reserved.